
So, got a brand new VPS and want to create a VPN server in it? Then you are in a right place. In this post I’ll try to explain how to create a VPN Server with OpenVPN on a VPS with CentOS 6.x 32 bit installed.
1. Remote your vps using putty(windows) or terminal(linux) with the ip-address, username and password provided by your vps seller.

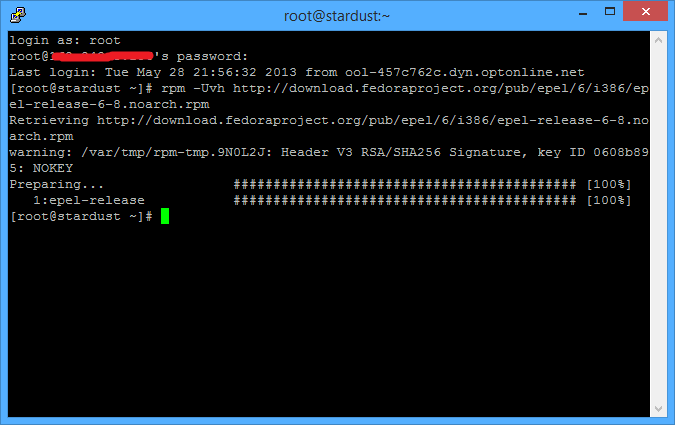
2. Install epel and remi , use command below
## Remi Dependency on CentOS 6 and Red Hat (RHEL) 6 ##
rpm -Uvh http://download.fedoraproject.org/pub/epel/6/i386/epel-release-6-8.noarch.rpm## CentOS 6 and Red Hat (RHEL) 6 ##
rpm -Uvh http://rpms.famillecollet.com/enterprise/remi-release-6.rpm
3. Check if tun/tap is active by issuing this command
cat /dev/net/tun
If tun is active then you should see this:
cat: /dev/net/tun: File descriptor in bad state

4. Make sure you have these packages installed:
yum install gcc make rpm-build autoconf.noarch zlib-devel pam-devel openssl-devel -y

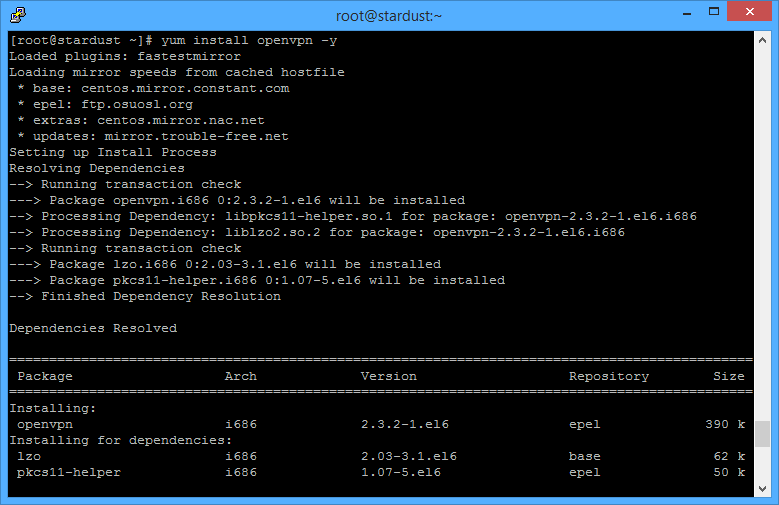
5. Install OpenVPN:
yum install openvpn -y
6. Install Easy-rsa:
yum install easy-rsa

7. Copy the easy-rsa folder to /etc/openvpn/:
cp -R /usr/share/easy-rsa/ /etc/openvpn/

8. Please note on CentOS 6 we need to make a small change before you run the commands below, open up /etc/openvpn/easy-rsa/2.0/vars
nano /etc/openvpn/easy-rsa/2.0/vars
then edit the following line line:
export KEY_CONFIG=`$EASY_RSA/whichopensslcnf $EASY_RSA`
To:
export KEY_CONFIG=/etc/openvpn/easy-rsa/2.0/openssl-1.0.0.cnf
don’t forget to save the file.

9. Now let’s create the certificate:
cd /etc/openvpn/easy-rsa/2.0
chmod 755 *
source ./vars
./vars
./clean-all
./build-ca


10 Build key server
./build-key-server server

11 Build Diffie Hellman (wait a moment until the process finish):
./build-dh

12 Now create the server config file:
touch /etc/openvpn/server.conf

And enter the following:
port 1194 #- port
proto udp #- protocol
dev tun
tun-mtu 1500
tun-mtu-extra 32
mssfix 1450
reneg-sec 0
ca /etc/openvpn/easy-rsa/2.0/keys/ca.crt
cert /etc/openvpn/easy-rsa/2.0/keys/server.crt
key /etc/openvpn/easy-rsa/2.0/keys/server.key
dh /etc/openvpn/easy-rsa/2.0/keys/dh1024.pem
plugin /etc/openvpn/openvpn-auth-pam.so /etc/pam.d/login
client-cert-not-required
username-as-common-name
server 10.8.0.0 255.255.255.0
push “redirect-gateway def1”
push “dhcp-option DNS 8.8.8.8”
push “dhcp-option DNS 8.8.4.4”
keepalive 5 30
comp-lzo
persist-key
persist-tun
status 1194.log
verb 3

13 Disable SELinux
echo 0 > /selinux/enfoce

14 Download openvpn auth
wget http://safesrv.net/public/dl/openvpn-auth-pam.zip
extract to /etc/openvpn with this command
unzip openvpn-auth-pam.zip /etc/openvpn/

15 Restart OpenVPN
service openvpn restart

16 Now we need to enable IP forwarding on the server. Open the file /etc/sysctl.conf
nano /etc/sysctl.conf
and set
‘net.ipv4.ip_forward’ to 1.

as always, don’t forget to save the file.
17 To make the changes to sysctl.conf take effect, use the following command.
sysctl -p

18 Add iptables rule
Iptables rule for KVM
iptables -t nat -A POSTROUTING -s 10.8.0.0/24 -o eth0 -j MASQUERADE

19. Then we need to save the iptables rule.
service iptables save
Ok, server side configuration is completed..
for the client side configuration and how to test the vpn will be updated soon in this post..
so, stay tune.. 🙂
UPDATE >>> PART 2